How to create Contact Groups and add Contacts to it to use it as Distribution Lists
A contact group is a set of email addresses that you can use to send an email message or meeting invitation to everyone at once.
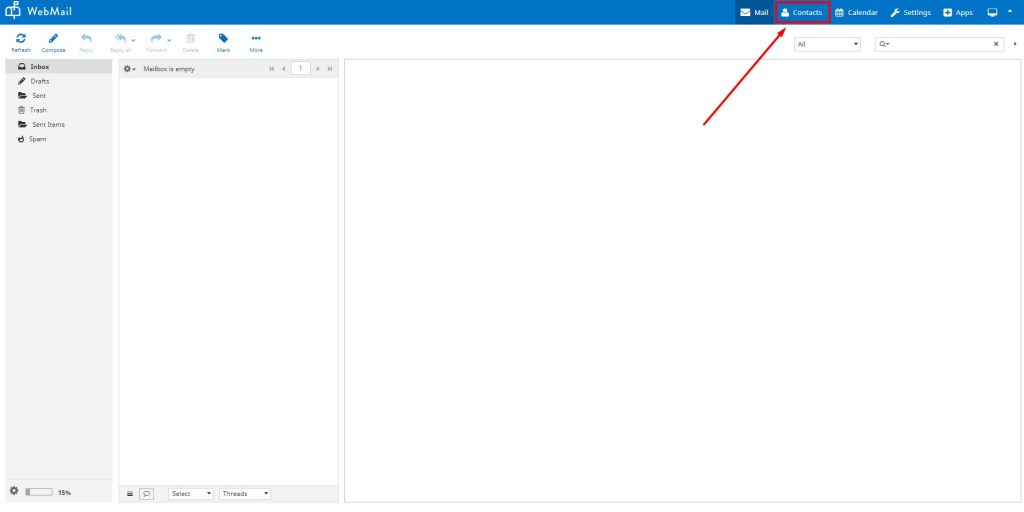
You can follow the steps given below to create Contact Groups for your account in Webmail.
In the Groups column, you will see that there are two parent groups by default, namely, Personal Addresses and Global Addresses.
You can create child groups only under Personal Addresses parent group by clicking on the + symbol at the bottom of the Groups column as shown in the image below.
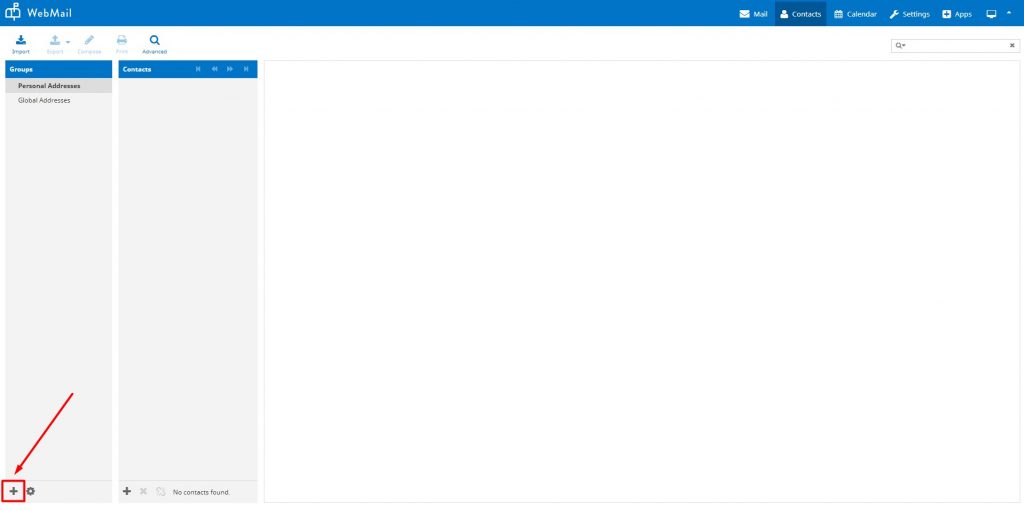
Note: Click on the + symbol after you have selected Personal Addresses or Global Addresses as your desired parent group.
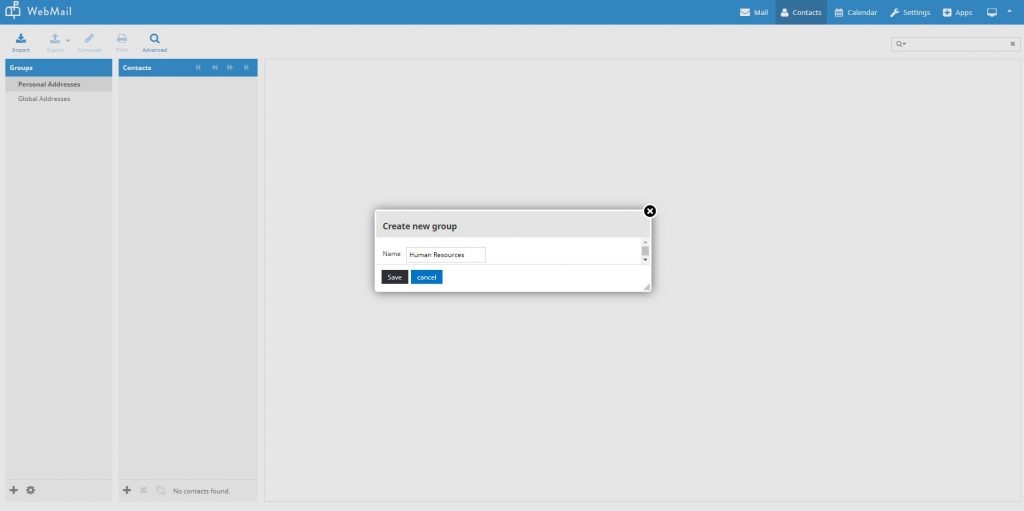
Give a name to your child group. For example, Human Resources.
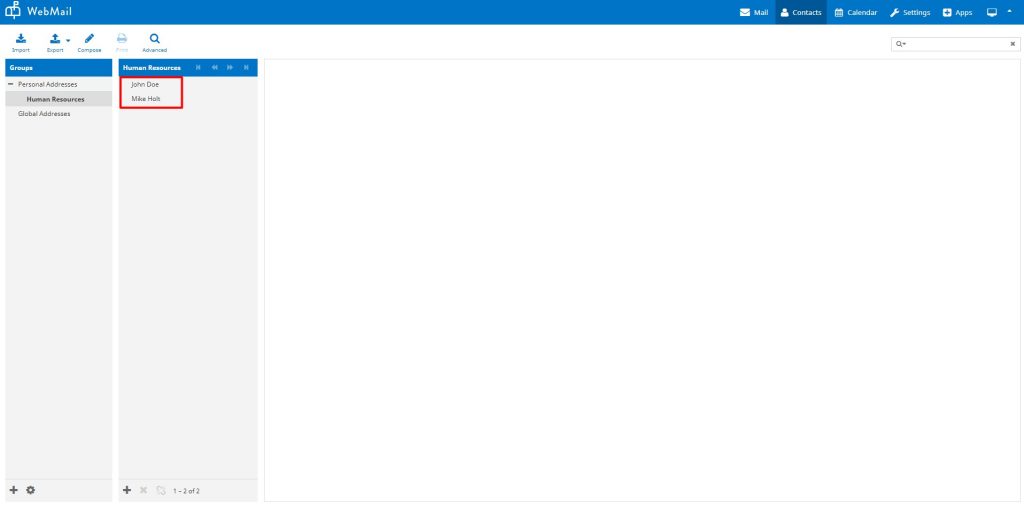
Select the Human Resources Group in the Groups columns and click on the + symbol in the Human Resources column to now add contacts to the Human Resources contacts group.

Similarly, you can add multiple contacts to the Human Resources contact group.
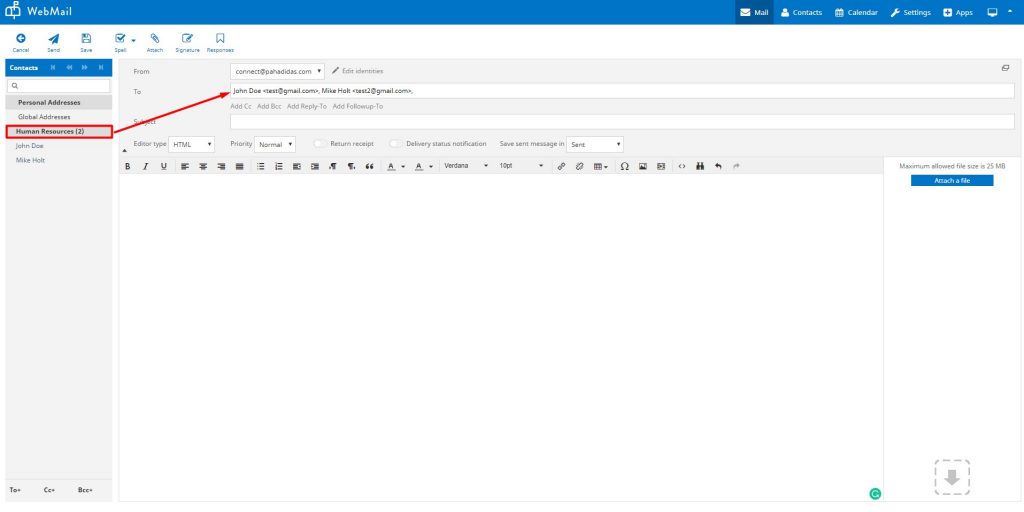
You can now use the Compose Email option to send an email to a contact group that will consider all the contacts under the group. Just type the contact group name in the To or CC/BCC field as shown in the image below.
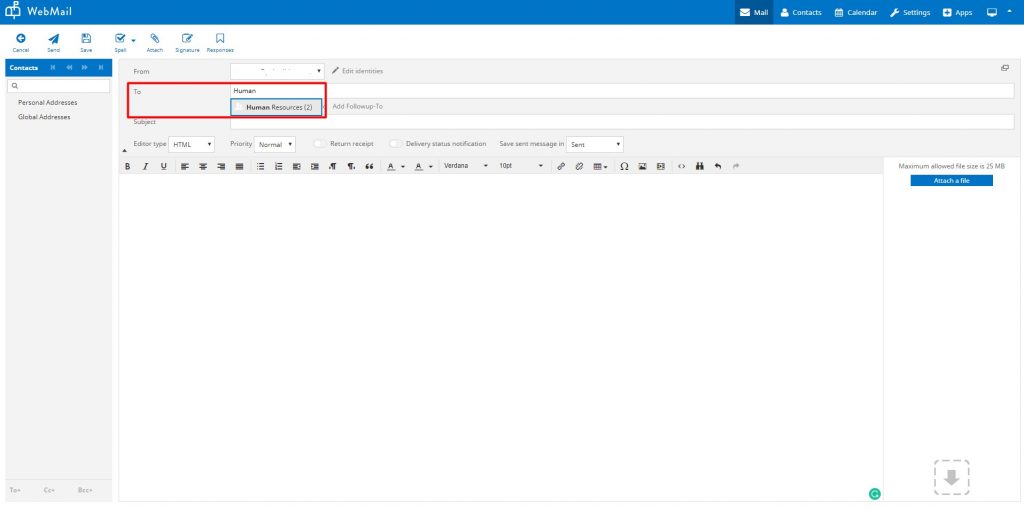
The drop-down will suggest the contacts group and selecting the group will automatically fetch the individual contacts of the contact group.


Alternatively, you can also click on the required contact group in the contacts sidebar on the left to populate your To and CC/BCC fields.
Related Articles
How to manage your Contacts
Default address book Select the default address book where new contacts are saved to when adding them from the mail view. List contacts as Choose how names are displayed in the contact list. Sorting column Select the contact attribute used for ...How to add/update your Signature
A signature is a perfect opportunity to brand every message you send. It establishes and reinforces who you are as a company. By creating a cohesive email signature for each employee on your team, you create brand recognition in every person to whom ...Netcomm NF18MESH
NF18MESH Featuring a Gigabit WAN port as well as VDSL2/ADSL2 technologies, the NF18MESH will connect with FTTN, FTTB, FTTC and FTTH. The Gateway also features VoIP for HD quality voice calls with the capacity to connect 2 phones. Images Emulator ...Understanding Bridge Taps (Star Wiring) on NBN Services
A bridge tap—also known as star wiring—is a point in your premises where a single cable splits into multiple cables to feed more than one wall socket. This was useful when homes relied on traditional phone lines, because it allowed multiple phones or ...WiFi Calling Configuration Checklist TP-Link Archer VR2100
WiFi Calling Configuration Checklist TP-Link Archer VR2100 When troubleshooting WiFi calling issues the following checklist can be used. 1. QoS Setup - Enable QoS in Advanced > QoS - Set bandwidth control to match actual internet speed - Add high ...